-
HOME
-
PRODUCTS
XR LED ScreenLED PosterCommercialDOOHCreativeRental -
CASE
-
ABOUT
-
NEWS
-
SOLUTION
-
CONTACT


- HOME

- PRODUCTS
- CASE
- ABOUT
- NEWS
- DOWNLOAD
- CONTACT
- SOLUTION
CUSTOM YOUR LED DISPLAY SOLUTIONS
EXPLORE MORE
HOME
PRODUCTS
CASE
ABOUT
NEWS
SOLUTION
CONTACT
CUSTOM YOUR LED DISPLAY SOLUTIONS
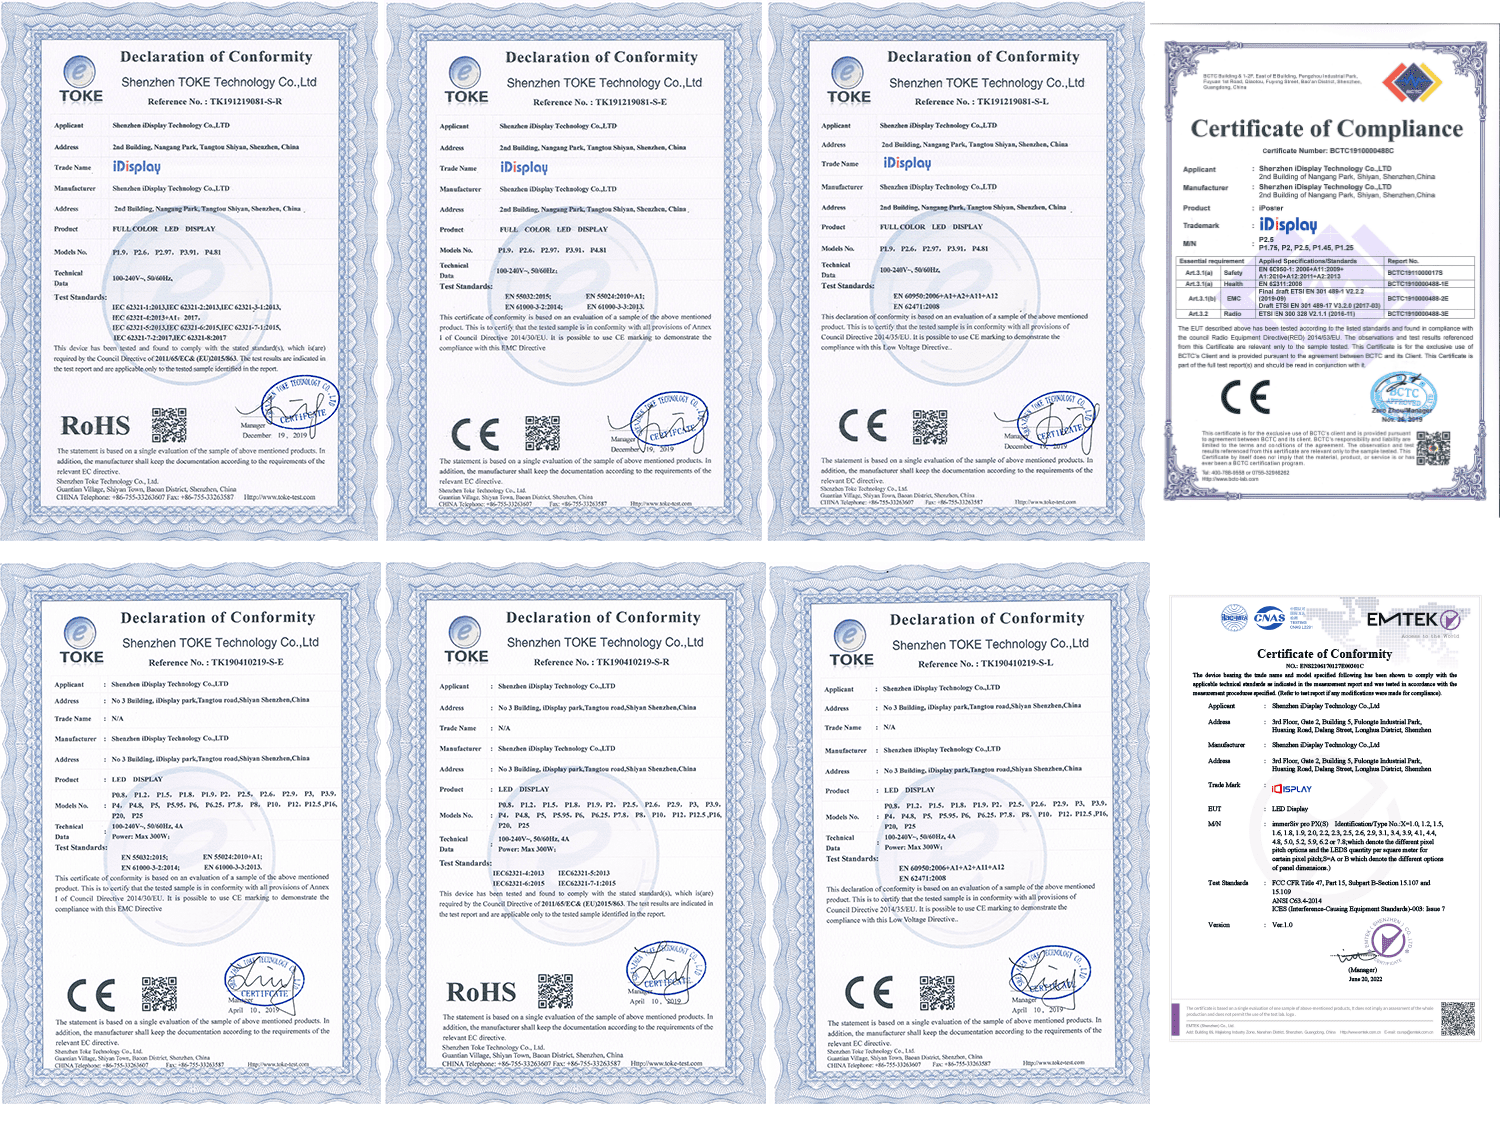
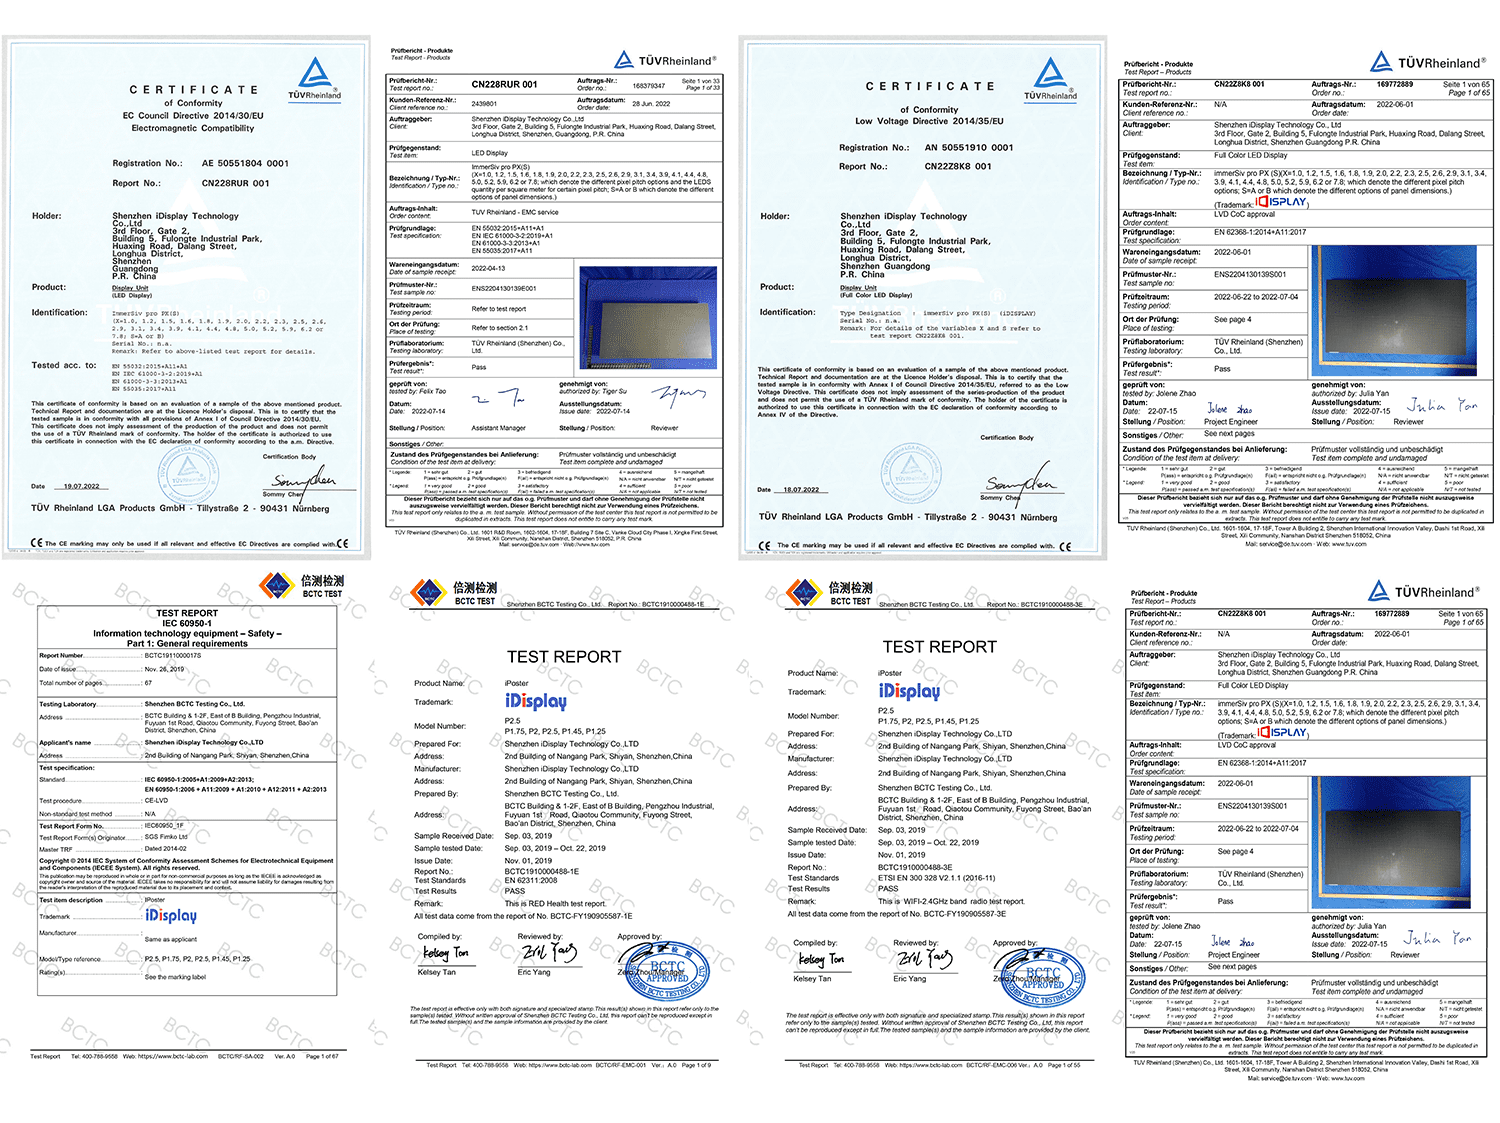
iDisplay LED display manufacturer vendor was founded in 2018 with a passion for the LED display industry. Headquartered in Shenzhen, China with a factory in Huizhou, China. iDisplay is a quality-oriented corporate which possesses strong manufacturing capability, advanced production equipment, professional technical force and efficient R&D team.
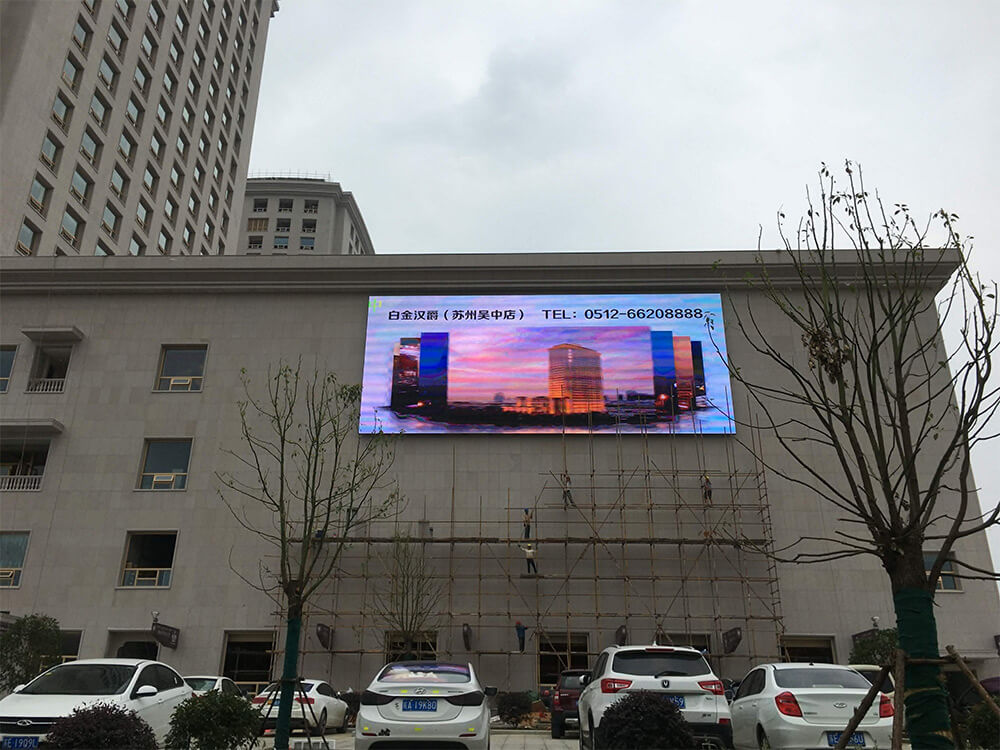
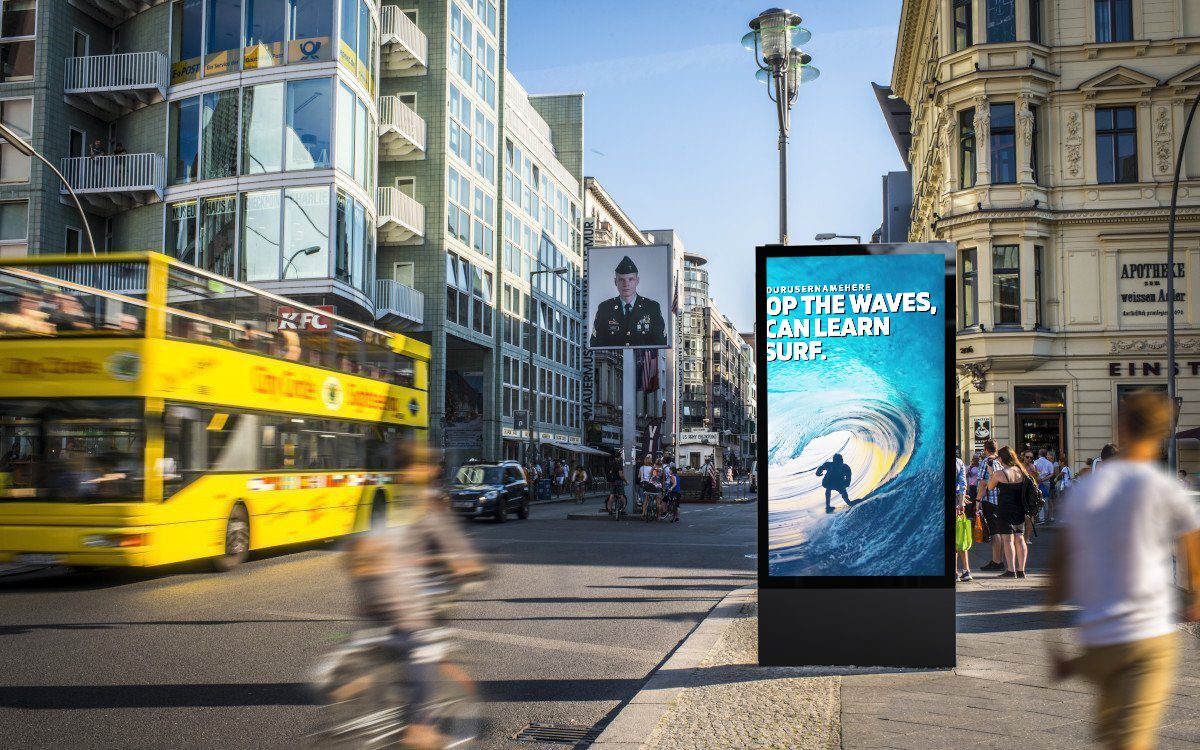
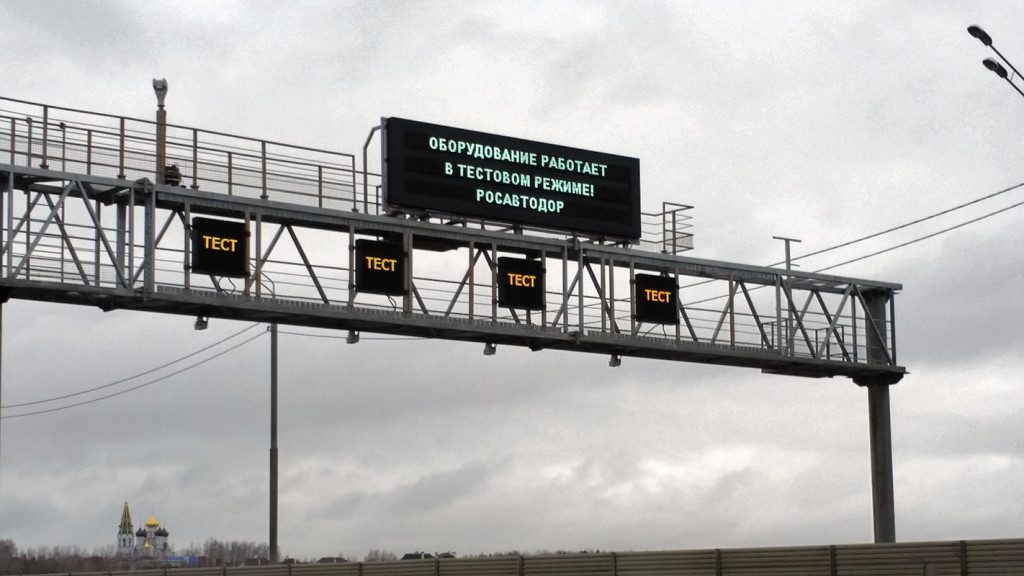
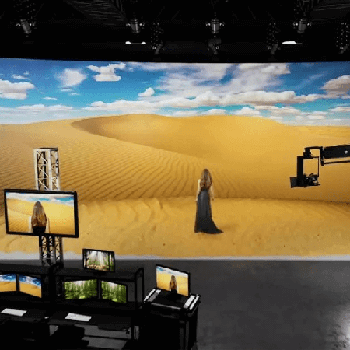
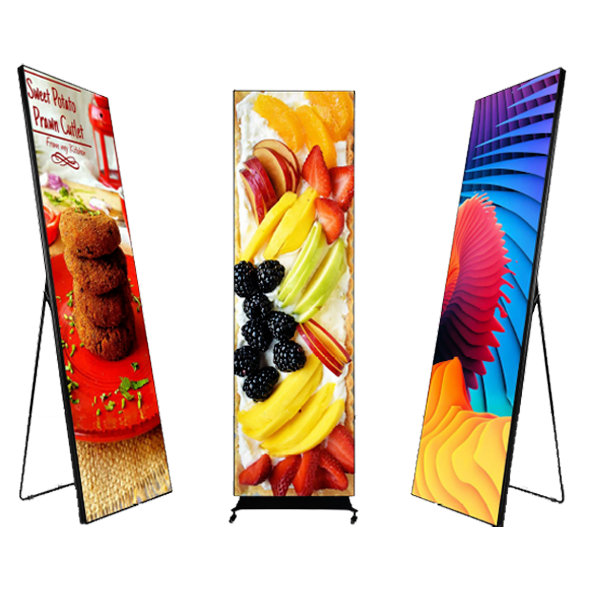
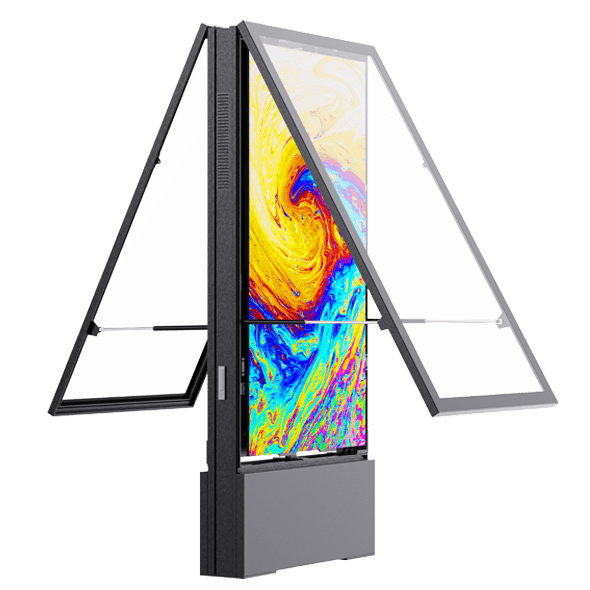
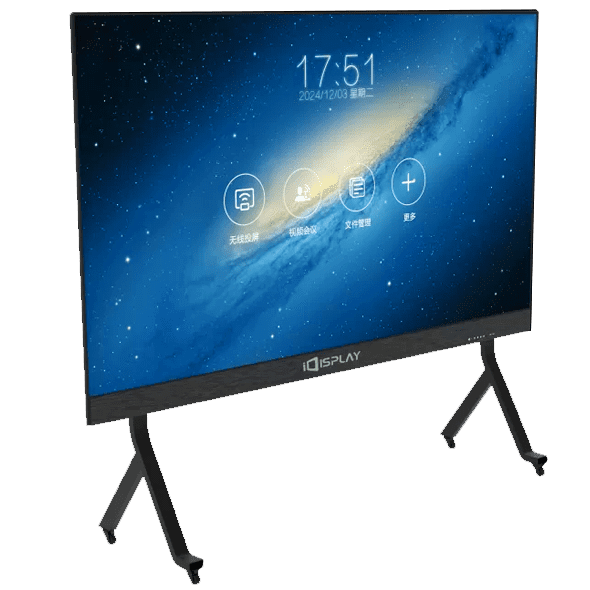
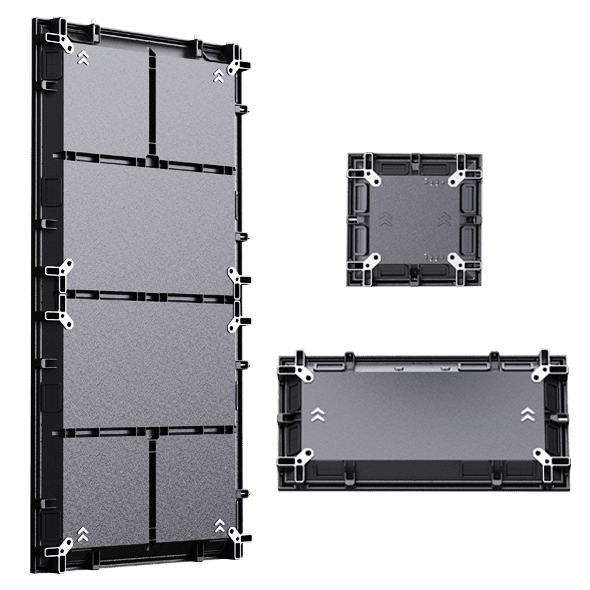
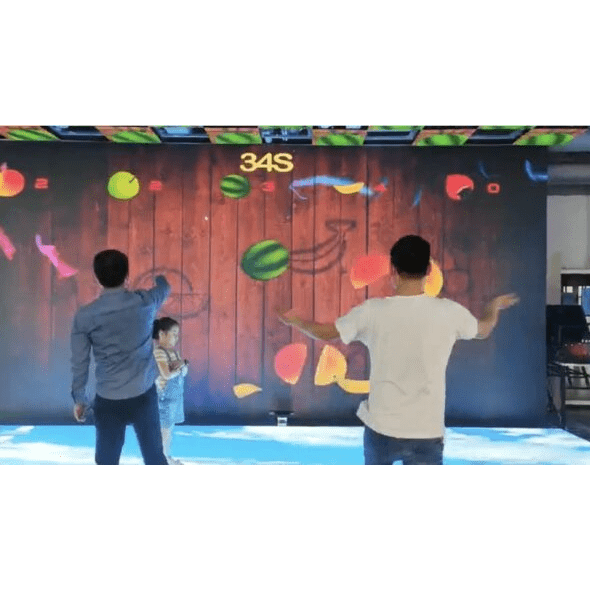
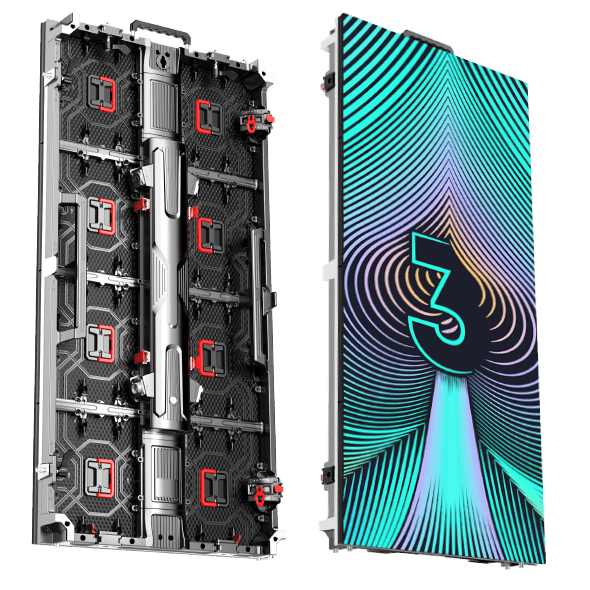
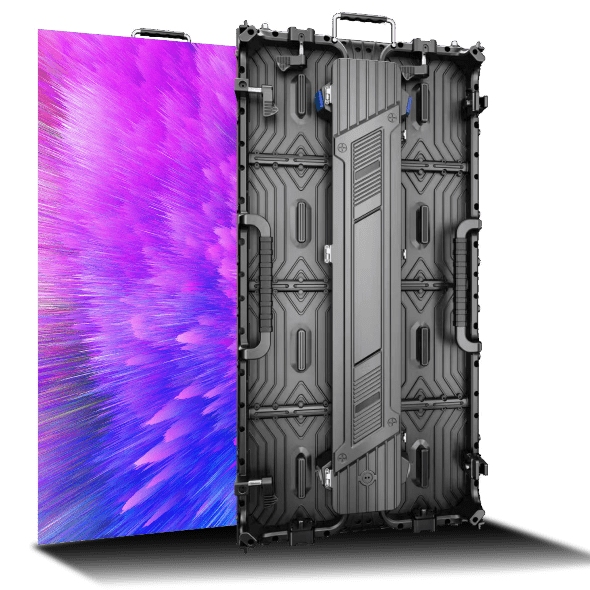
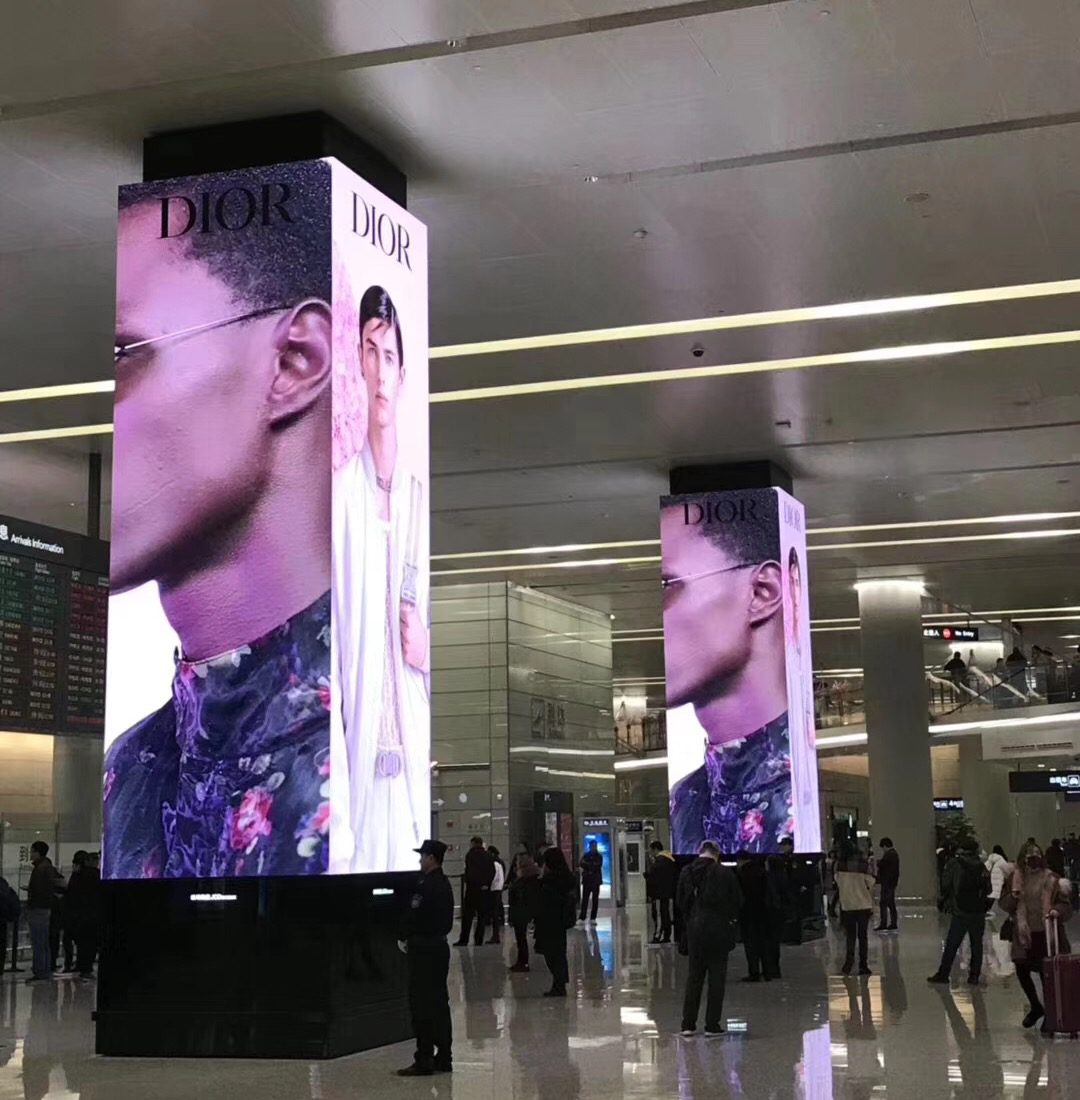
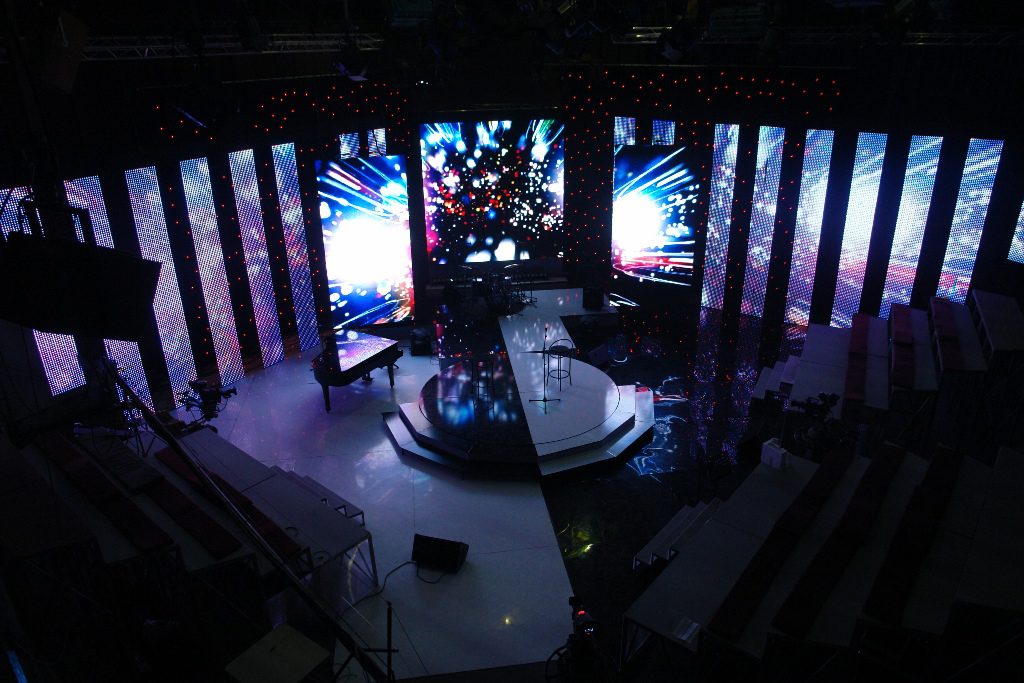
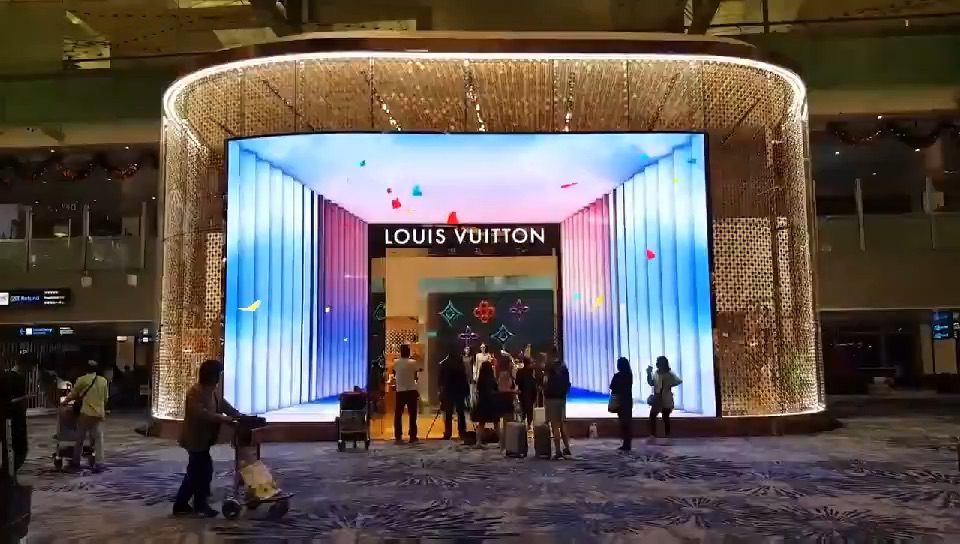
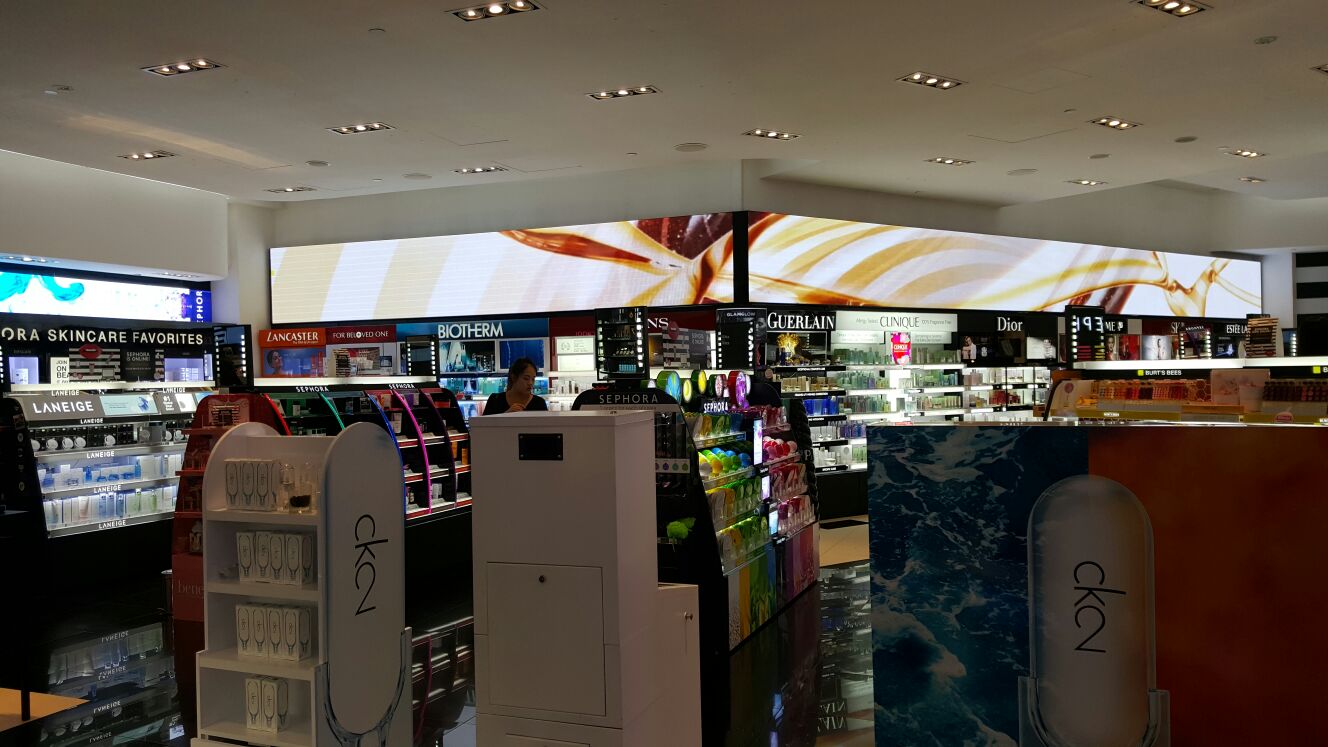
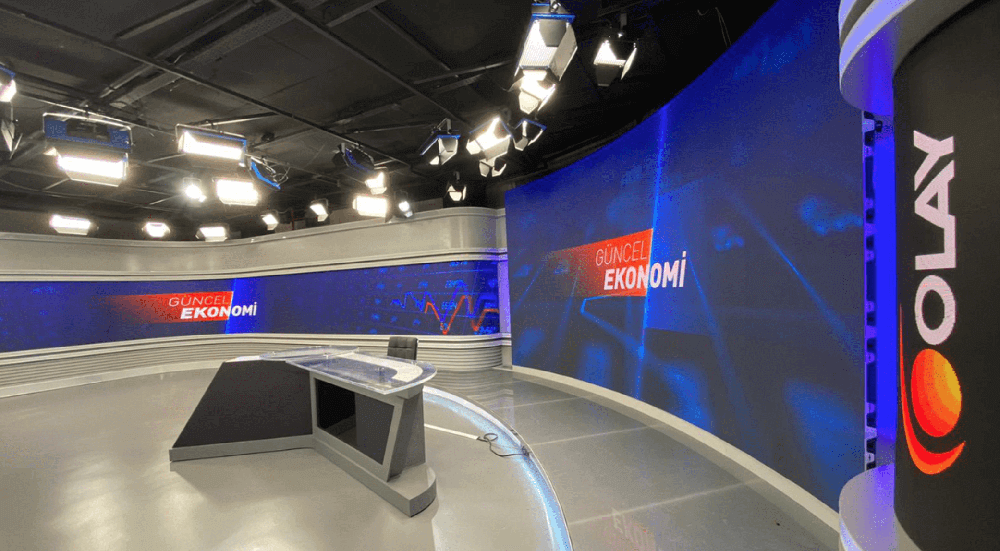
We devoted ourselves to design and manufacture led displays for commercial and retail field such as Chain store, shopping mall, transport hub, meeting room, immersive experience hall, XR stages, film studios and broadcast site etc. Our product is widely used in a lot of countries and regions and function well in various of applications and environments as we have extensive experience in OEM and ODM.
Our final goal is to build up long-term cooperation partnership with our clients. We are pursuing our dream of building “iDisplay” into a world-renowned brand that can helps hundreds of or even thousands of local led display wholesalers or contractors to serve for their end users with quality product and delicate service.
Values:
● Customer first
● Keep creating values and delivering values to customers and society
● Today’s best performance is tomorrow’s baseline
● Trust makes everything possible

sqm factory size
Service Center
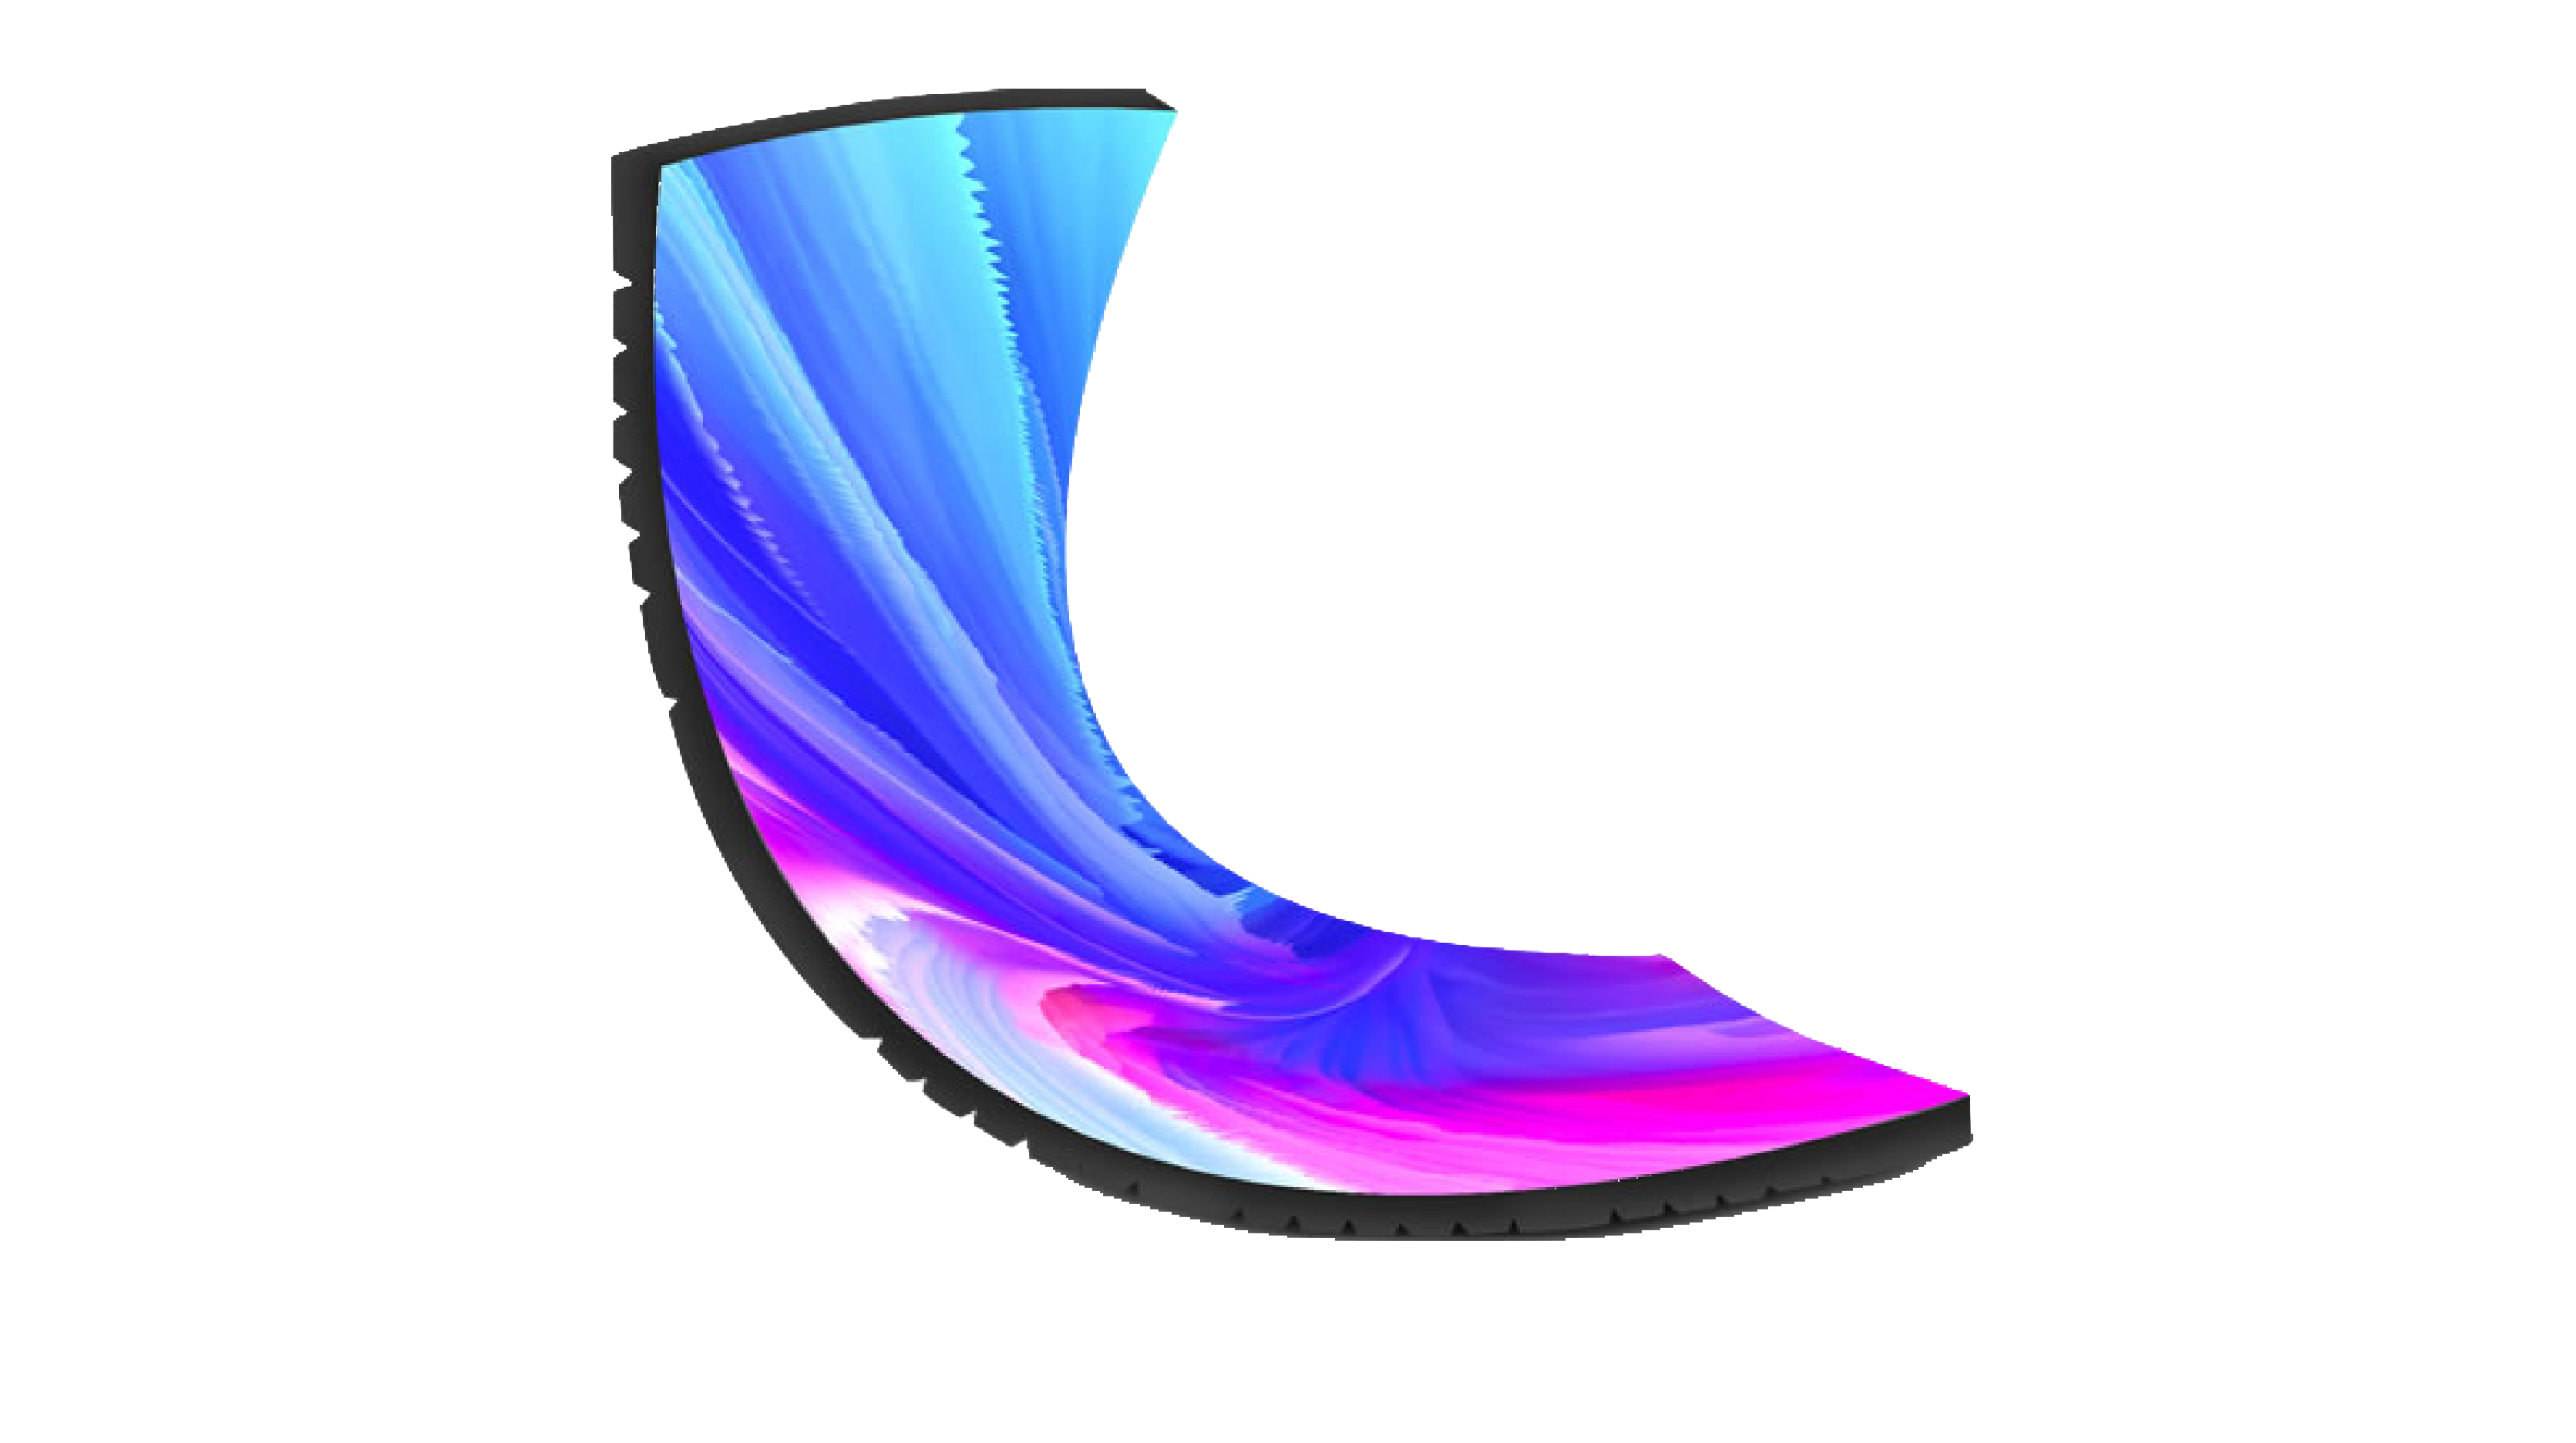
Tens of thousands of different screen sizes
Multiple countries
GET IN CONTACT
Interested in IDISPLAY? Would you like more information? Contact us today!
News events
EXPLORE MORE
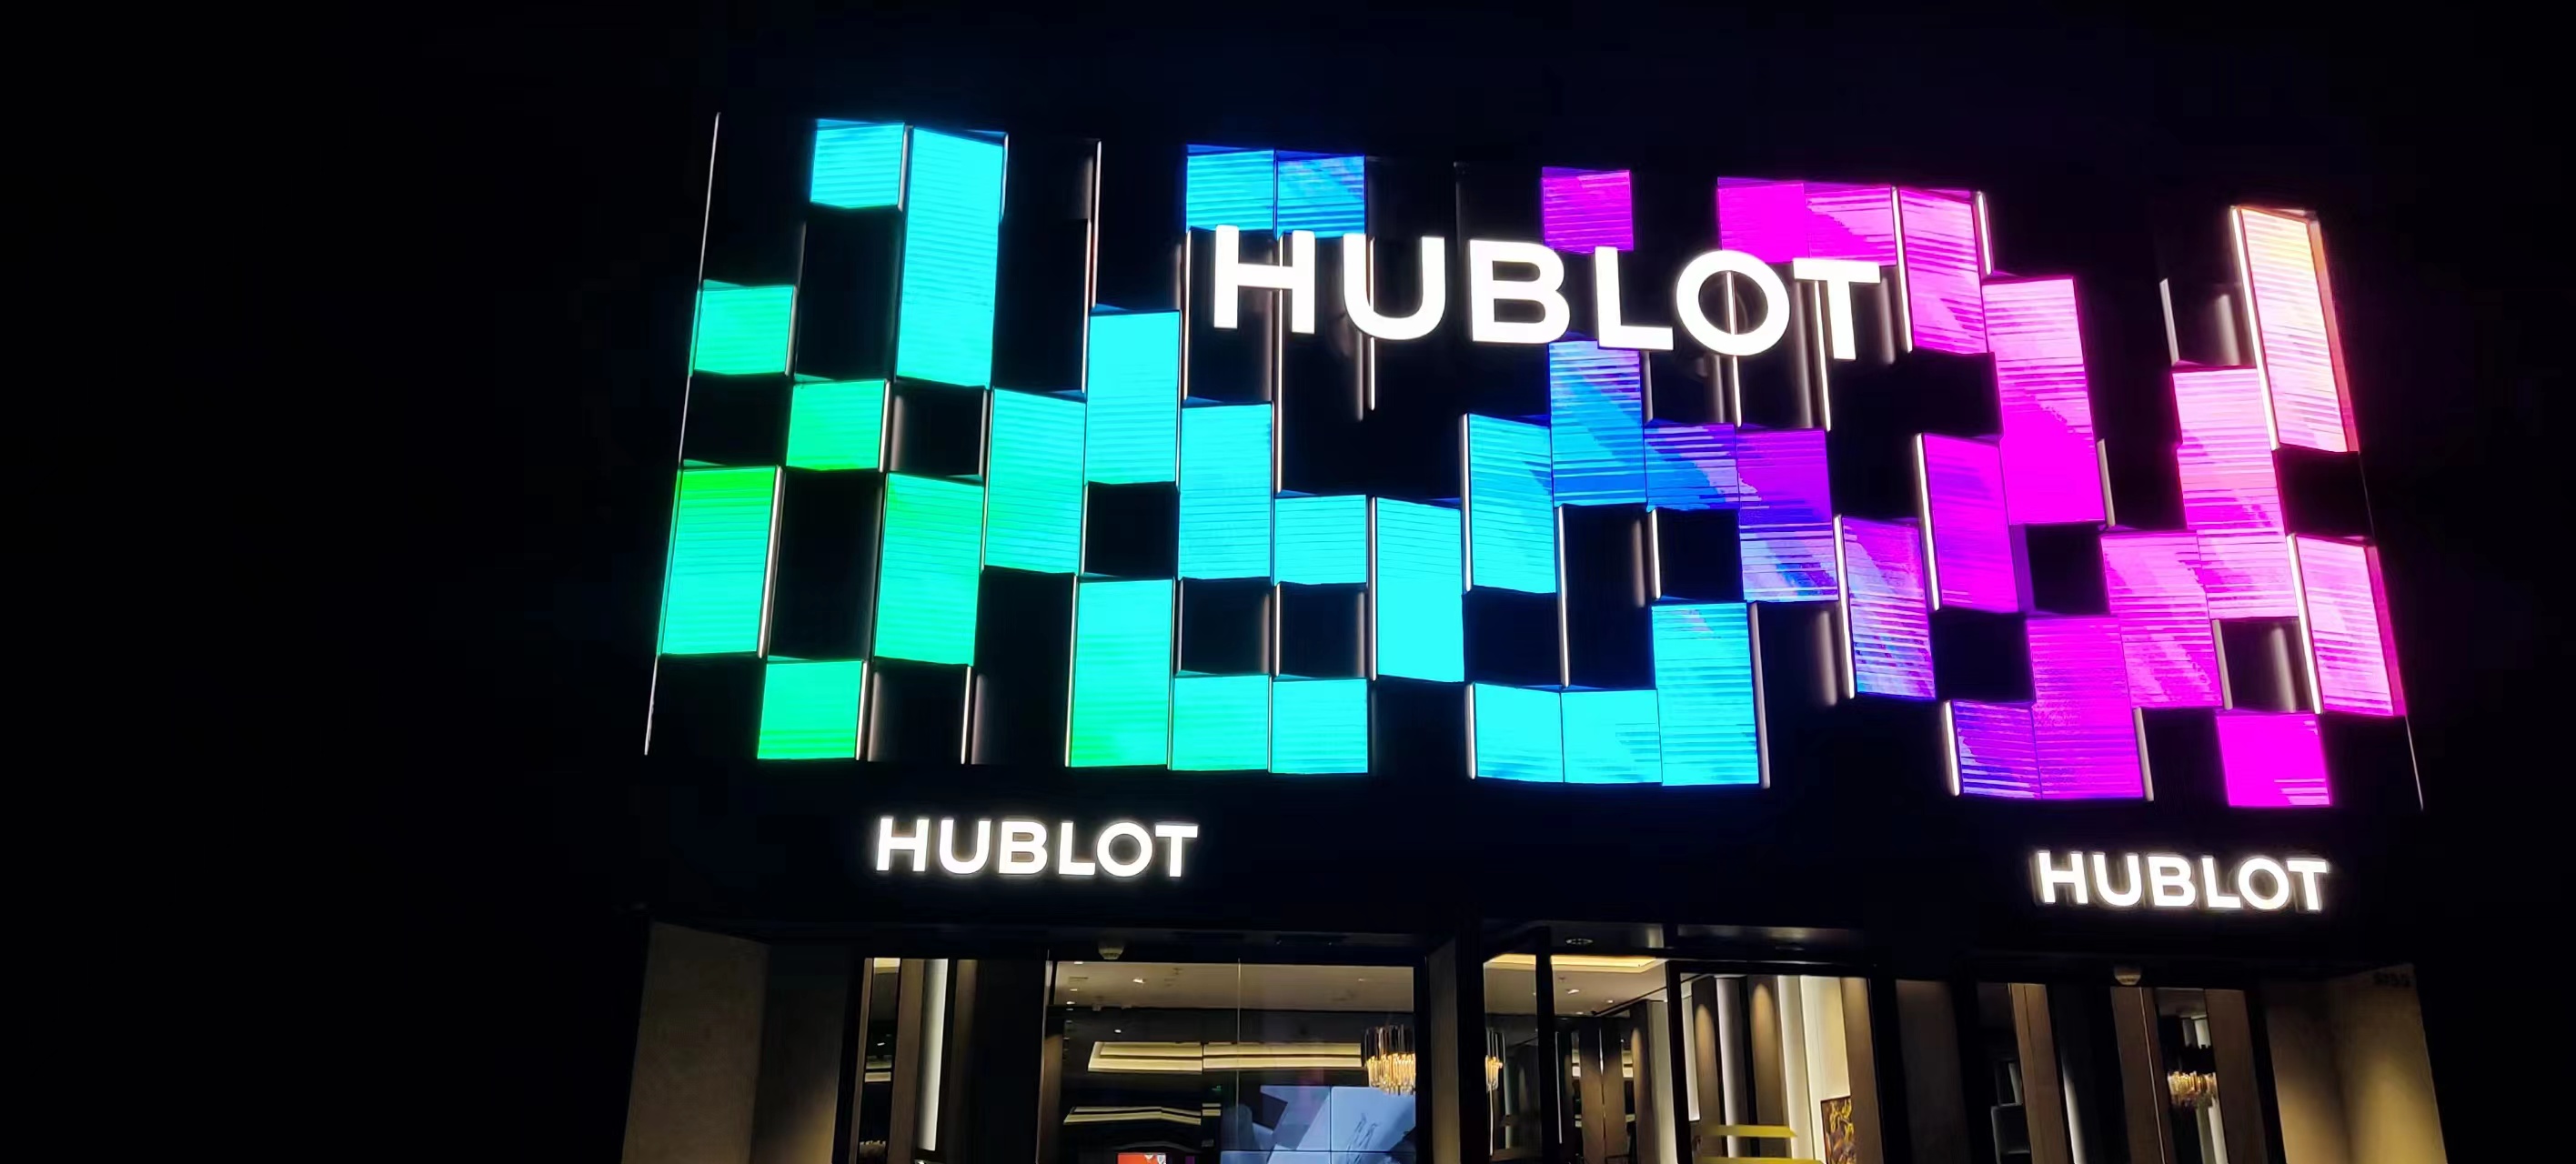
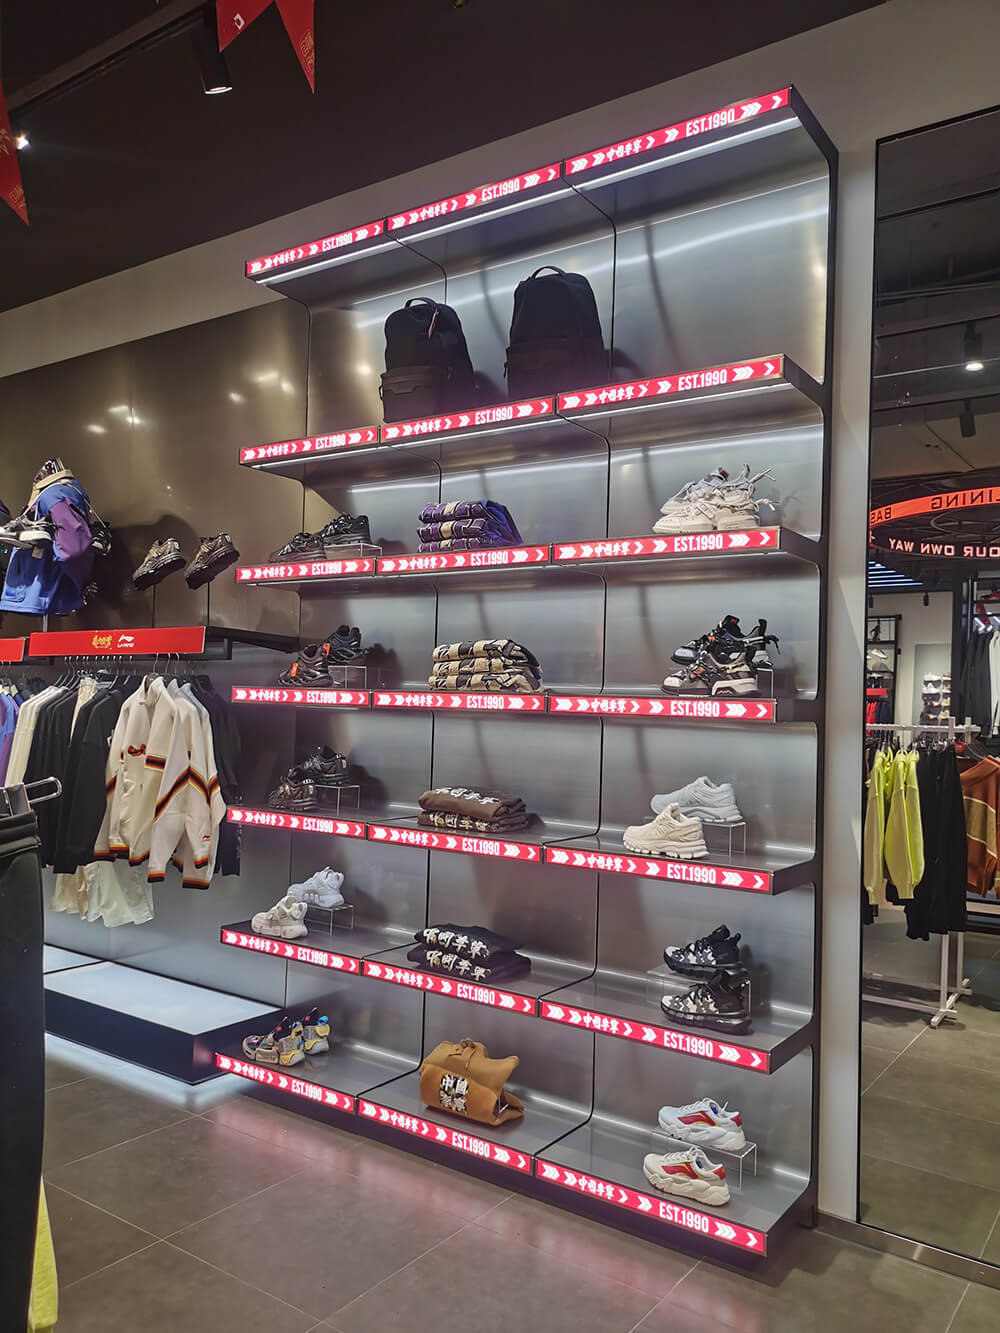
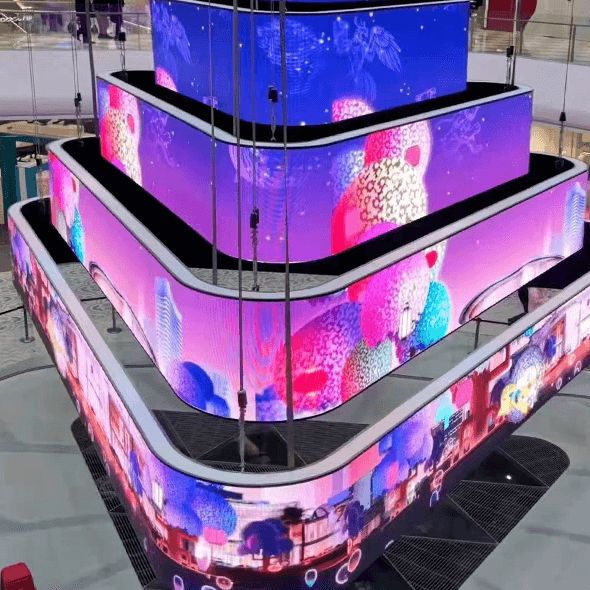
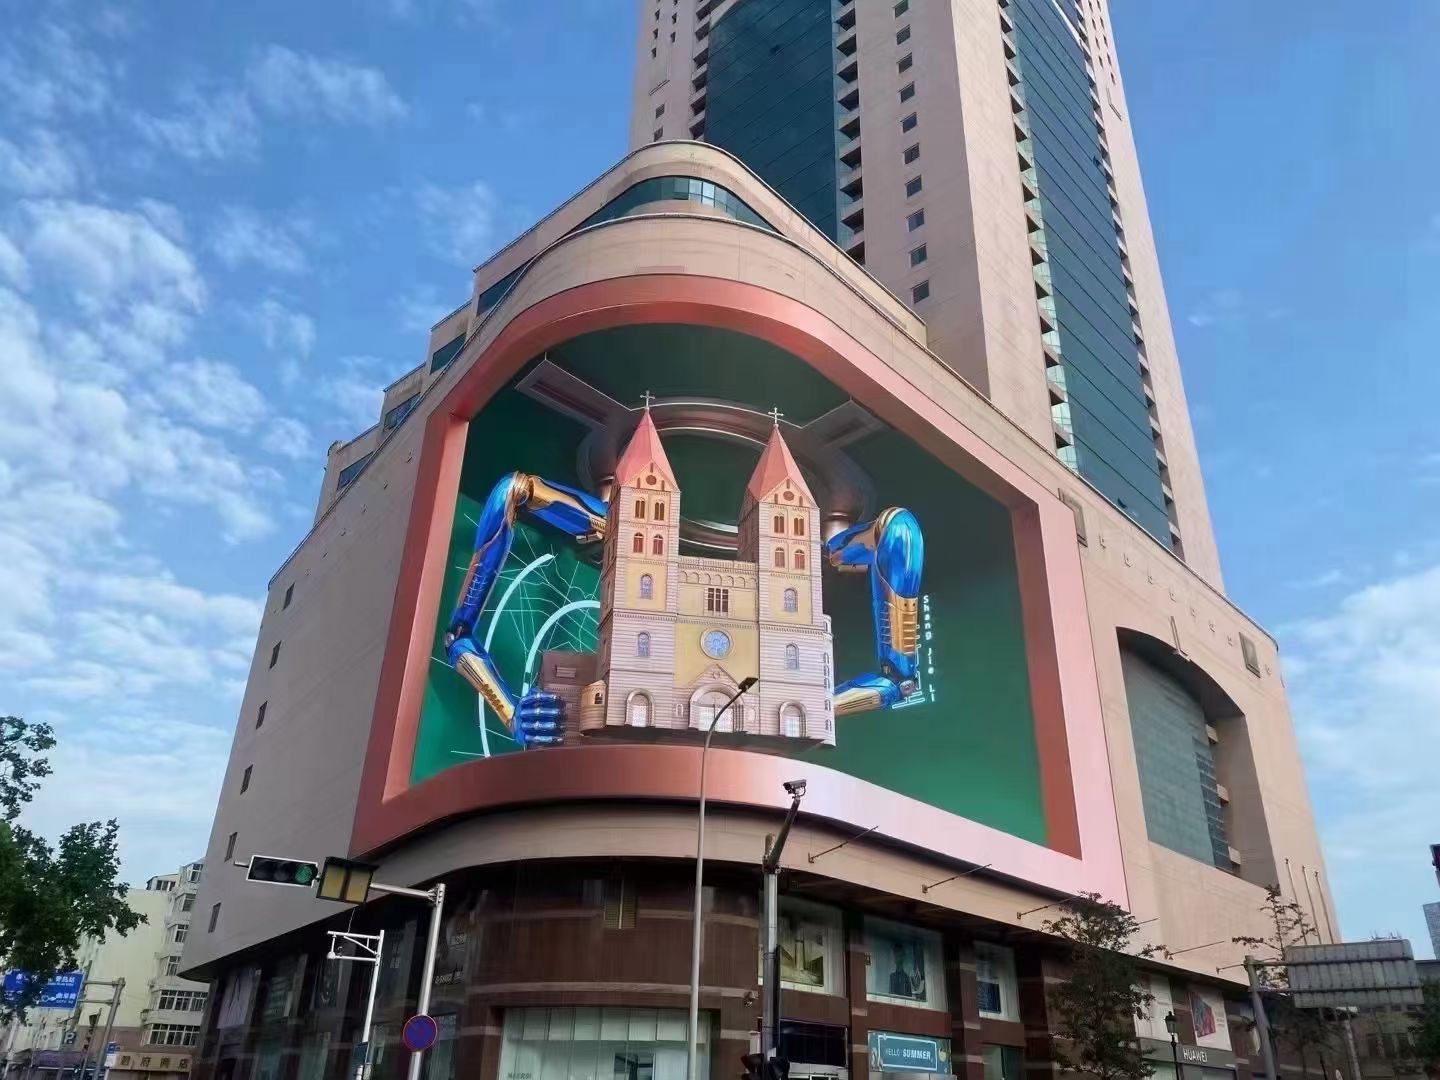
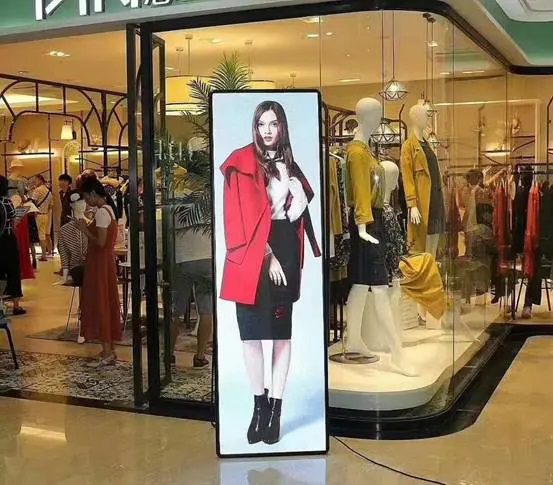
Elevating Shopping Experiences: The Case for Shaped LED Displays in Malls
In today's hyper-competitive retail landscape, shopping malls are constantly seeking innovative ways to attract and engage shoppers. Among the array of marketing tools available, shaped LED displays are emerging as a game-changer, offering malls the opportunity to create immersive and captivating experiences that drive foot traffic, enhance brand visibility, and increase sales. In this comprehensive exploration, we delve into the reasons why shopping malls should consider incorporating shaped LED displays, explore optimal placement strategies, and highlight the expertise of iDisplay, a leading provider of professional display solutions tailored for shopping malls.
Learn more
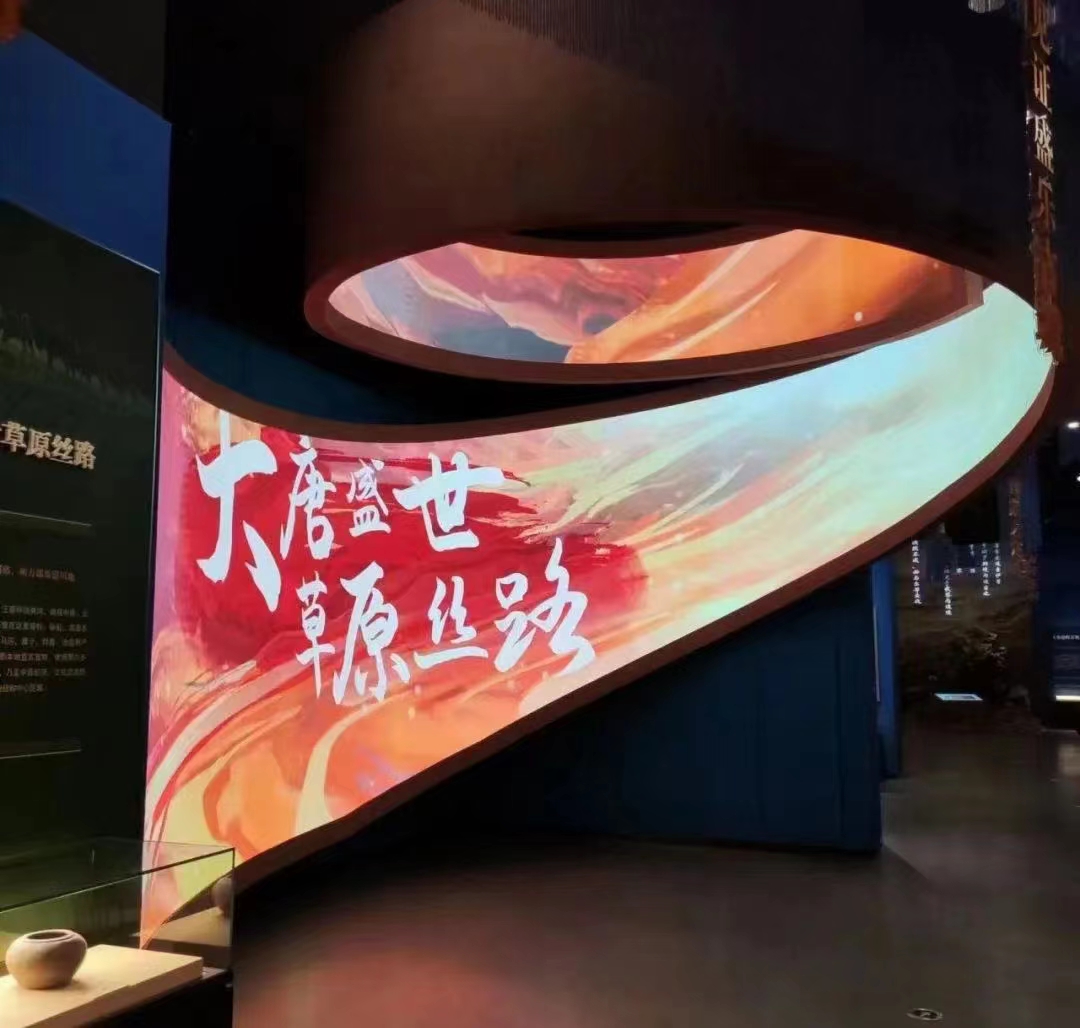
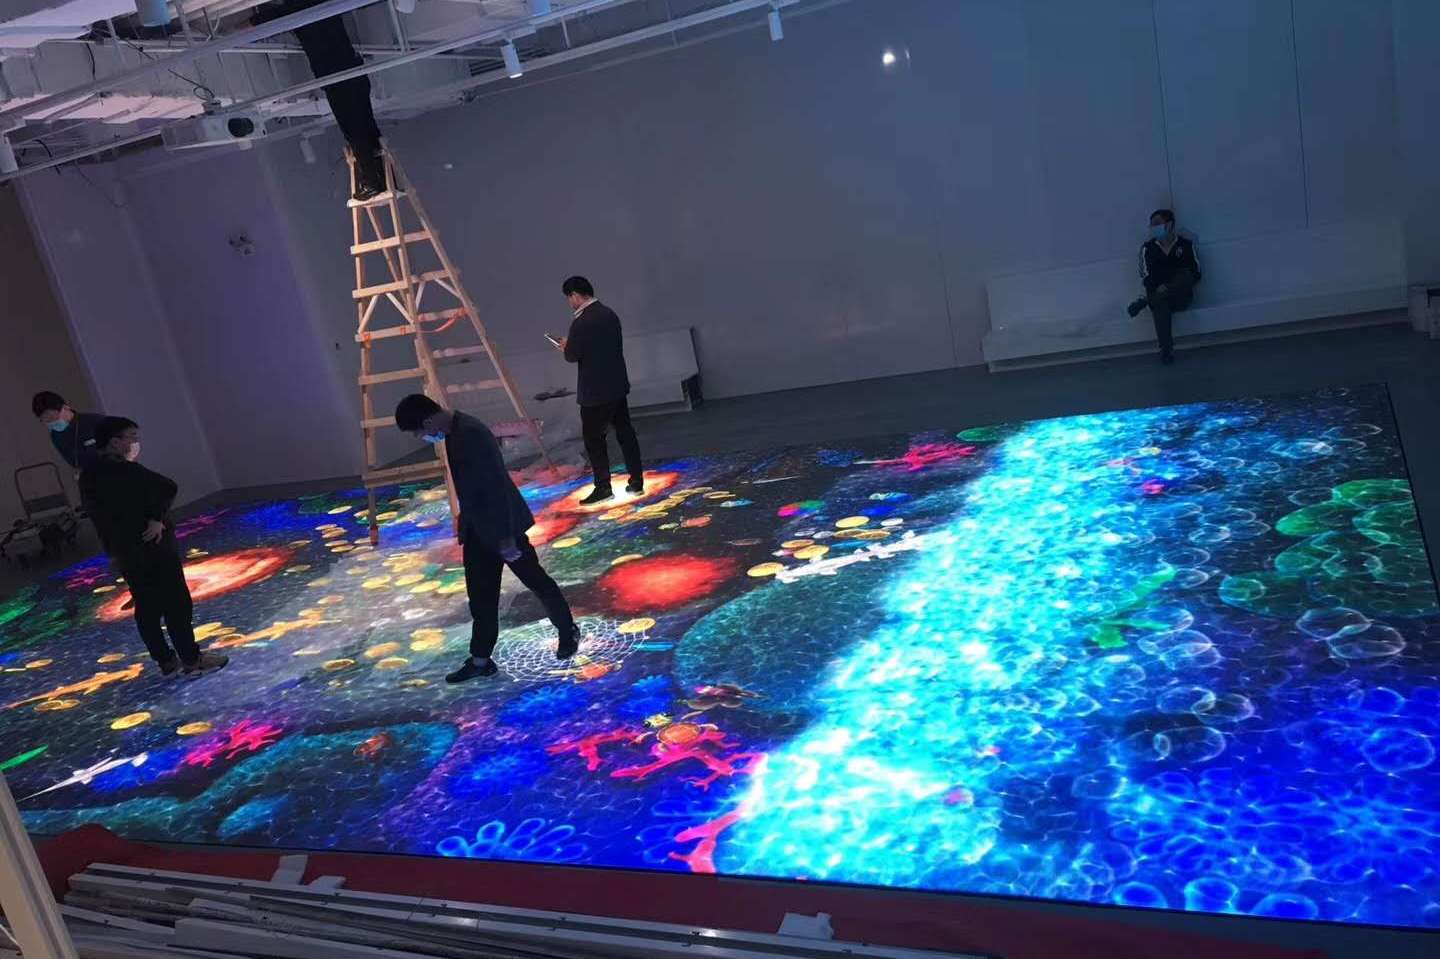
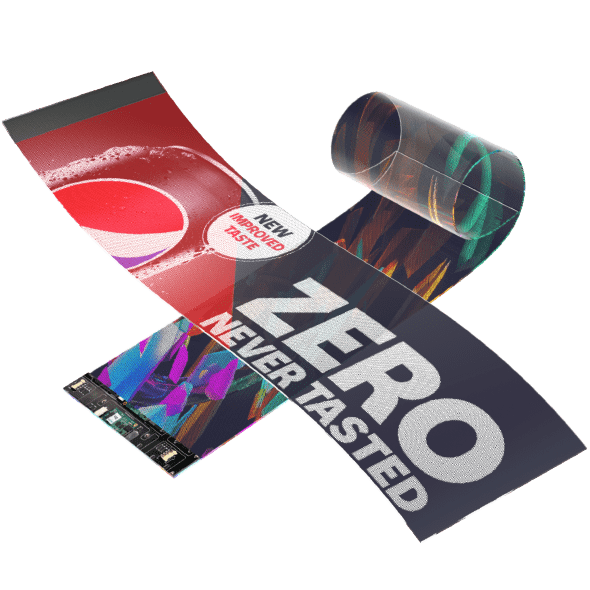
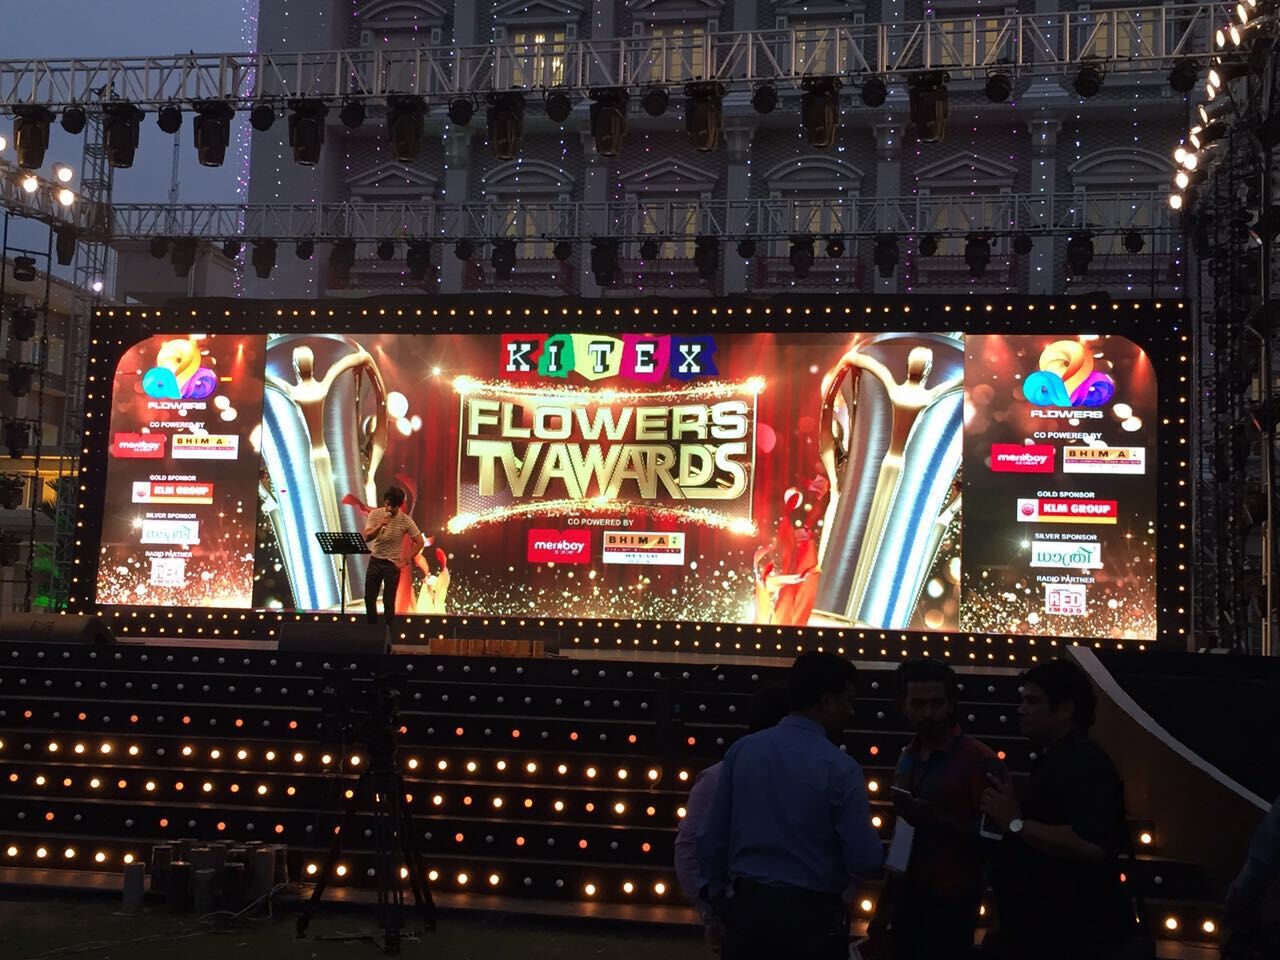
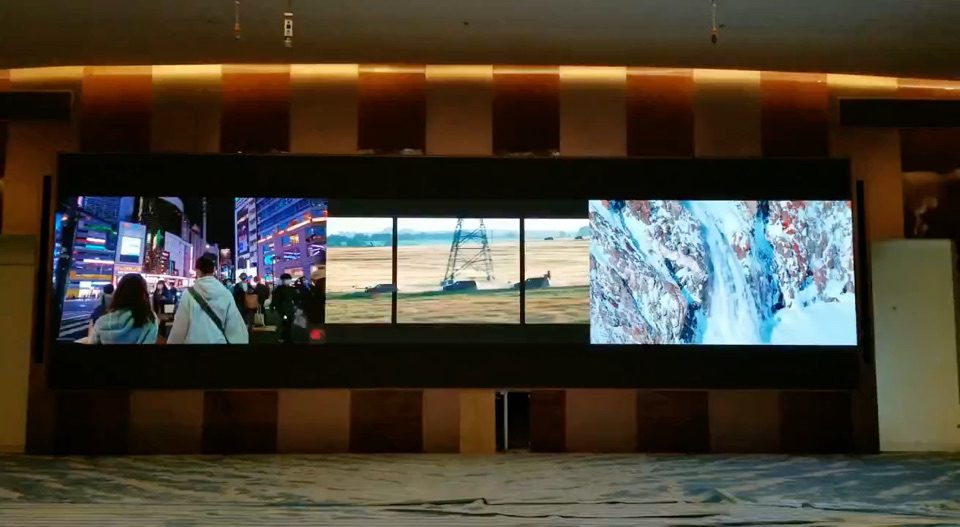
Unveiling the Power of Shaped LED Displays in Showrooms and Exhibitions
In the realm of visual marketing and brand engagement, the use of innovative display technologies is essential for capturing the attention of audiences and creating memorable experiences.
Learn more


 BACK TO TOP
.jpg)

.jpg)

.JPG)